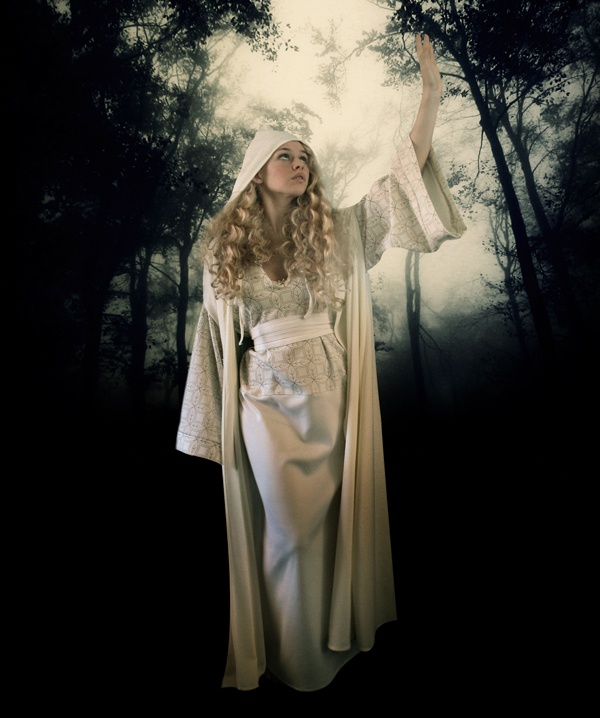
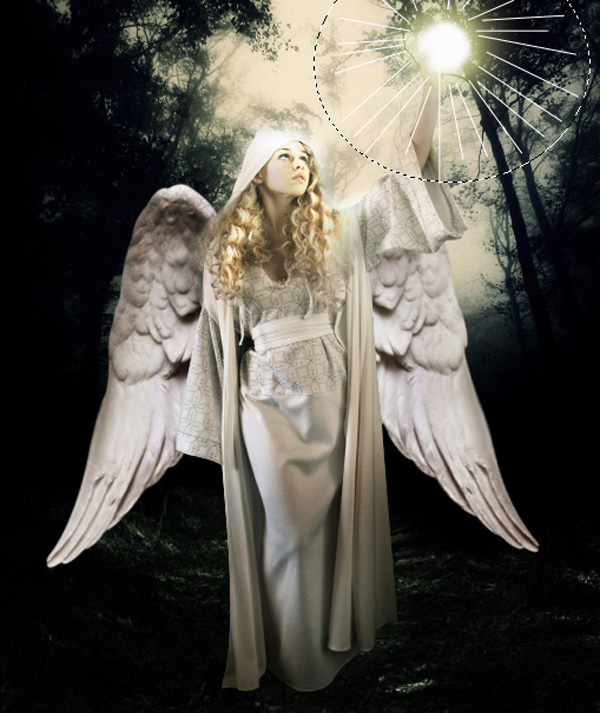
In this tutorial I am going to attempt to show you how to ‘puppetize’ Charlize from this…

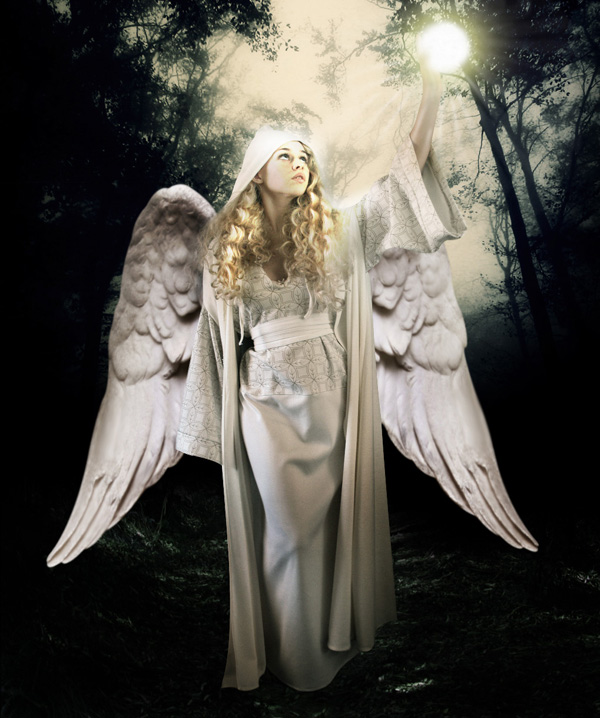
…to this! Bear in mind that I used PSPv9 and that this is my first attempt at a tutorial!!!

Use this tutorial in conjunction with Jobigoud's mini-tut on joints: http://www.worth1000.com/stories/thread.asp?cid=29&eid=219537
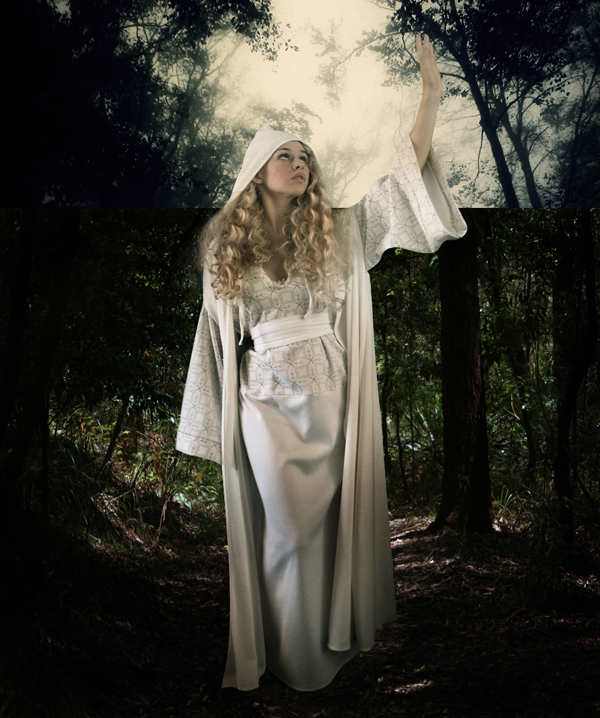
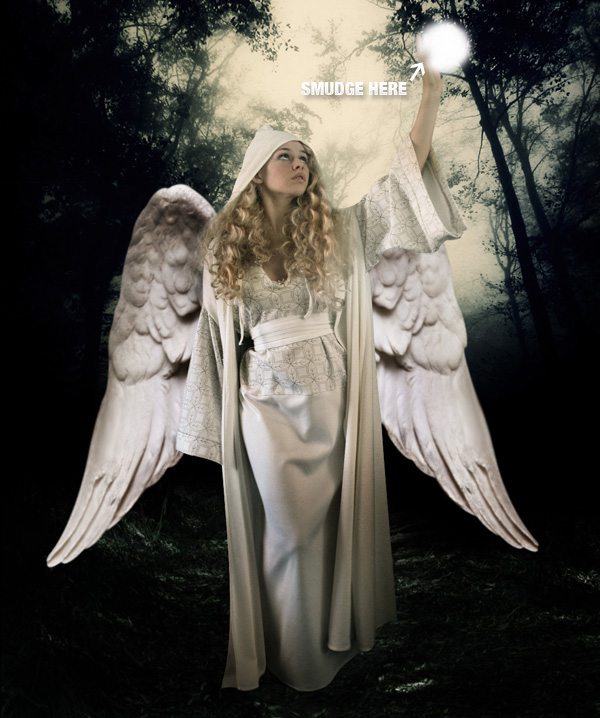
The first step is to use your smudge brush at about 46% opacity and smooth out her skin, hair and teeth until they have a plastic look to them.
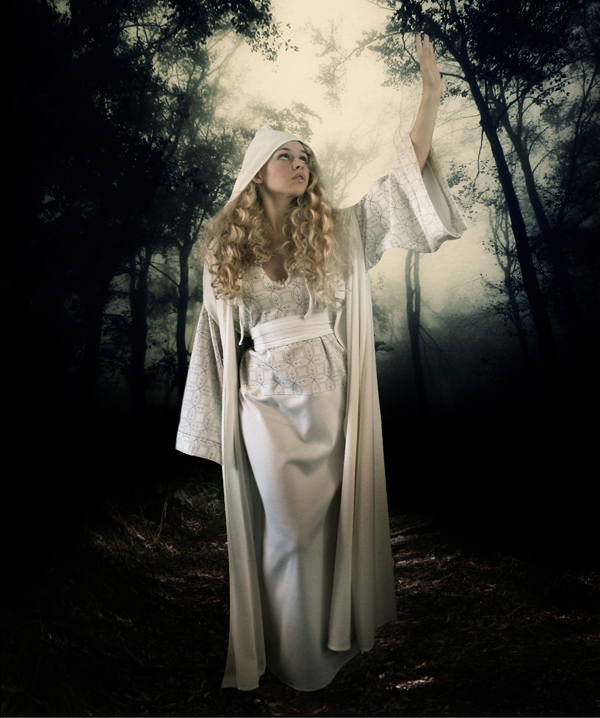
Now draw some oval shapes in the darker skin tones and place them on her joints…look at the angles of her joints to help you with the placing. Just keep adjusting them until they look right. Notice that I have some darker ovals and some lighter ovals…the lighter ovals are placed where I thought more light would fall.

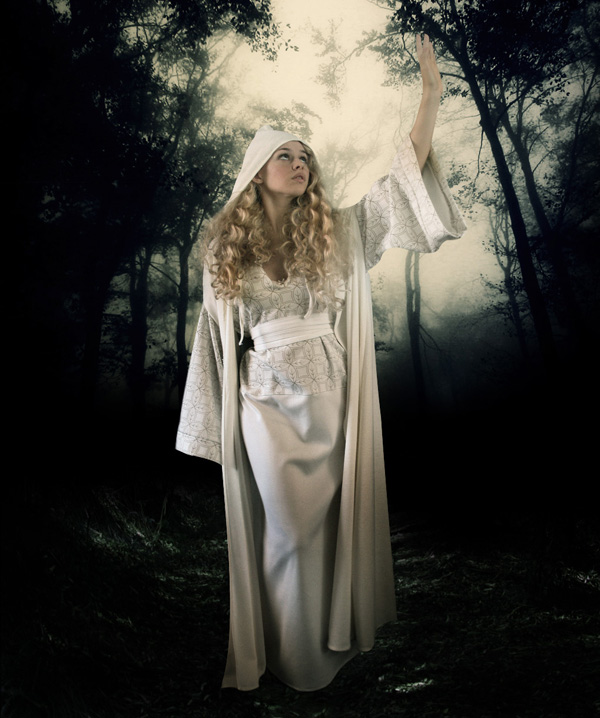
Using the pen tool, draw in your strings….and there you have it…all done!!! Good luck.

…to this! Bear in mind that I used PSPv9 and that this is my first attempt at a tutorial!!!
Use this tutorial in conjunction with Jobigoud's mini-tut on joints: http://www.worth1000.com/stories/thread.asp?cid=29&eid=219537
The first step is to use your smudge brush at about 46% opacity and smooth out her skin, hair and teeth until they have a plastic look to them.
Now draw some oval shapes in the darker skin tones and place them on her joints…look at the angles of her joints to help you with the placing. Just keep adjusting them until they look right. Notice that I have some darker ovals and some lighter ovals…the lighter ovals are placed where I thought more light would fall.
Where you only have one oval on a joint, eg, the neck/chin, shoulders, elbows and wrists, you have to copy and paste these joints from your background over the top of your ovals and then erase as much as is needed until it looks as though there is a gap between the joint and the oval.
Now go to your background layer and using your clone tool, get rid of the bits of knee etc that you can still see behind the ovals.

After cloning, this is how your joints should look.
Now using your pen tool, draw in the lines that hold the joints together. I added a shadow to the knee lines for more effect.

Here you need to blacken her mouth and move her chin and lower lip down to give the full puppet effect. I also drew in two faint brown lines to define her chin/jaw more.

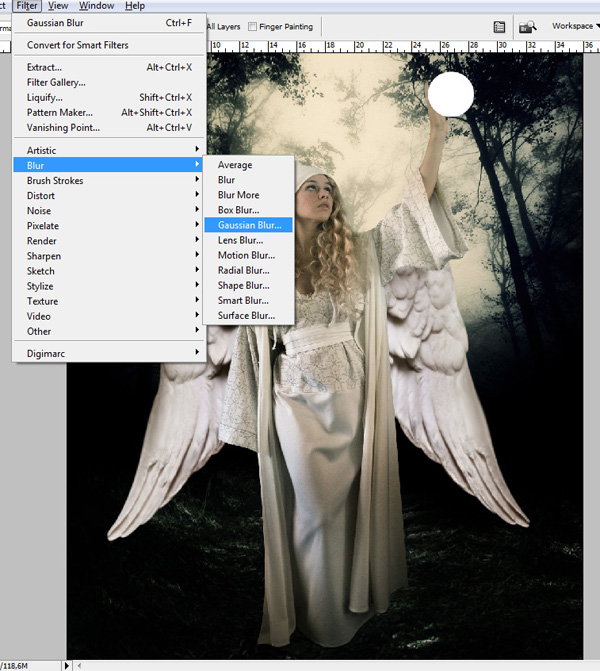
Next I airbrushed a lighter skin tone onto all of her body and gaussian blurred it until it looked right (you will have to play with this until you are satisfied with your result). I also added highlights to her hair in the same way. This gave Charlize more of the plastic puppet look that I was looking for.
Now draw in the dots/holes where you would like to attach the strings.

Now go to your background layer and using your clone tool, get rid of the bits of knee etc that you can still see behind the ovals.
After cloning, this is how your joints should look.
Now using your pen tool, draw in the lines that hold the joints together. I added a shadow to the knee lines for more effect.
Here you need to blacken her mouth and move her chin and lower lip down to give the full puppet effect. I also drew in two faint brown lines to define her chin/jaw more.
Next I airbrushed a lighter skin tone onto all of her body and gaussian blurred it until it looked right (you will have to play with this until you are satisfied with your result). I also added highlights to her hair in the same way. This gave Charlize more of the plastic puppet look that I was looking for.
Now draw in the dots/holes where you would like to attach the strings.
Using the pen tool, draw in your strings….and there you have it…all done!!! Good luck.