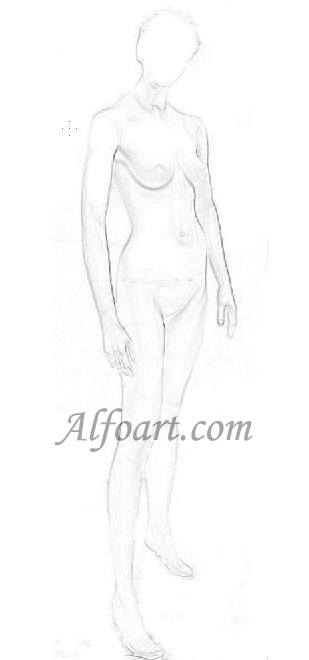
- Make a preliminary sketch of a human figure.
- Draw all the details of the future robot.
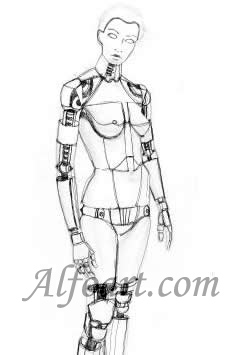
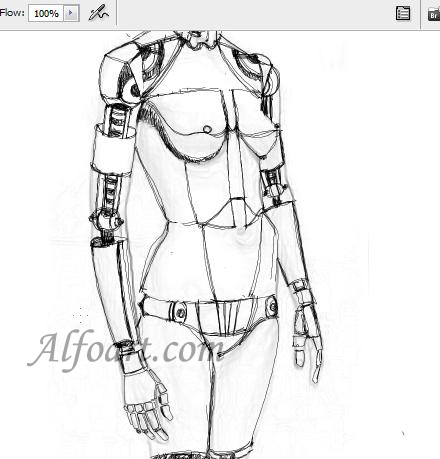
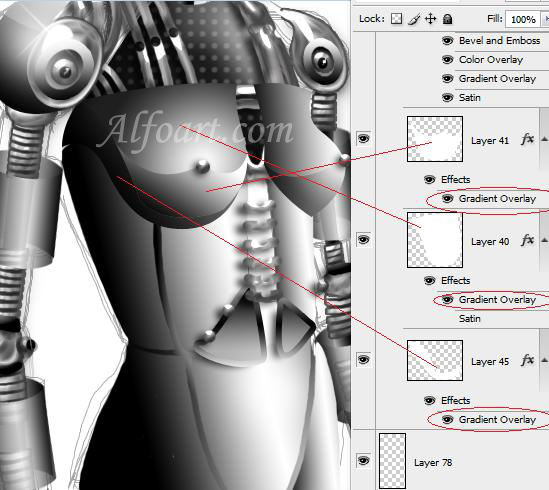
- Draw the details of the robot in different layers using Pen Tool.
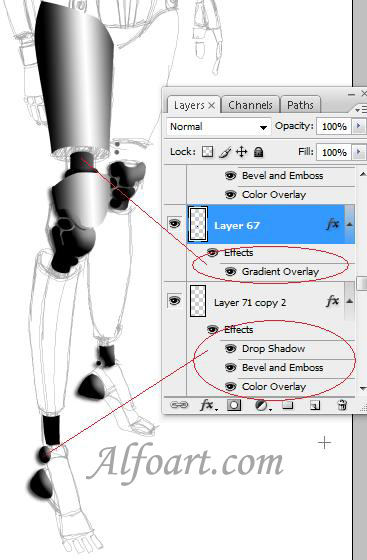
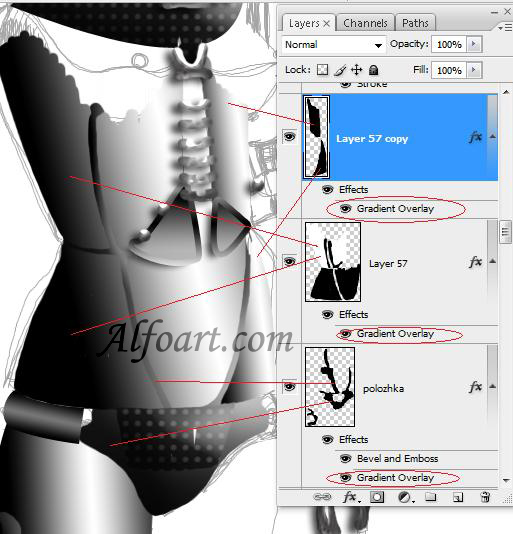
- Apply Layer style effects. Use layer's preset styles or create new ones using layer style settings.
- Use Linear
 , Reflected
 or Radial gradients
  to create metal effect for different parts of the robot.

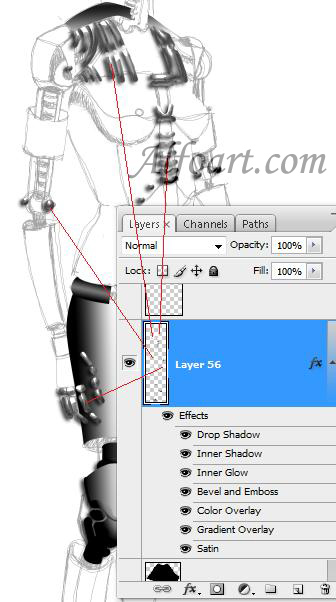
- Layer Style Adjustments allow to create different effects without using brush. It simplifies your work.

- In order to create chrome surface I used Slick Chrome effect (without stroke) from a layer style's palette.
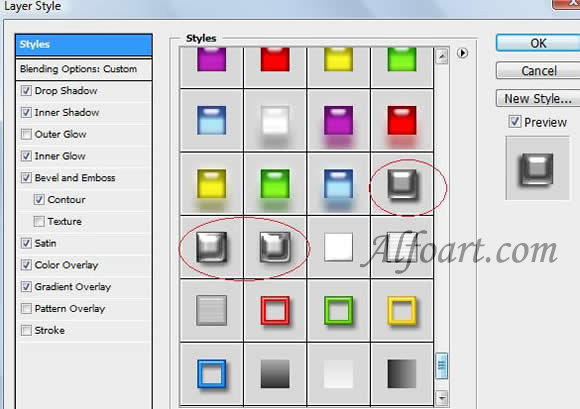
- Examples of the most suitable styles for creation of metal effect.
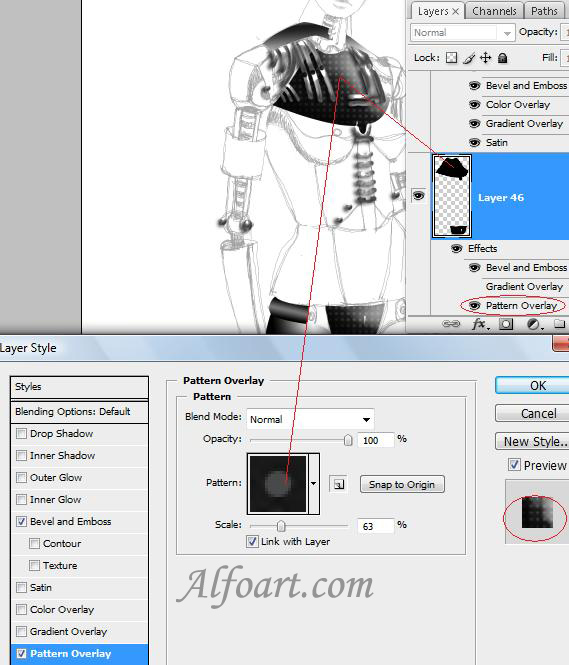
- To create the grid, I used Pattern with grey circles on a black background.
- Use gradient stroke of different width to create the following effect.
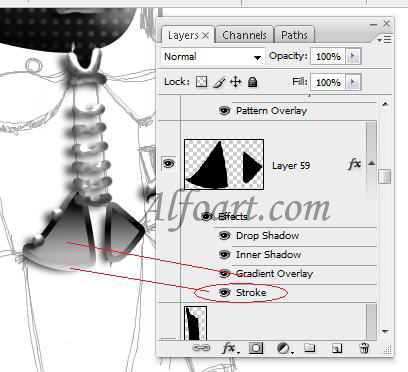
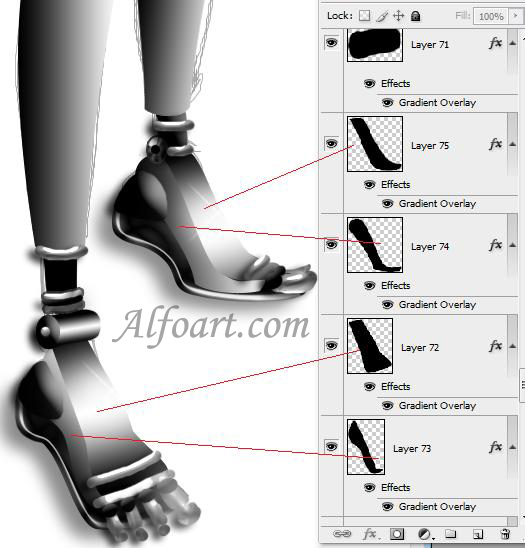
- Cut out thin lines on the metal surface to create joints between details. Draw a substrate for joints in the previous layer.
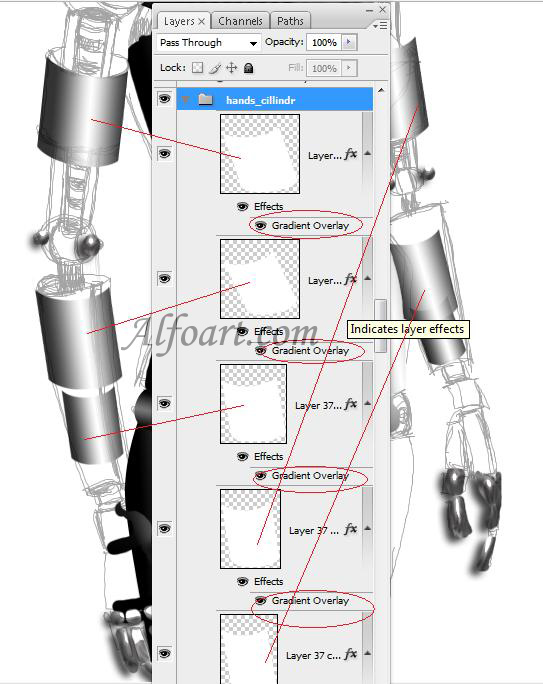
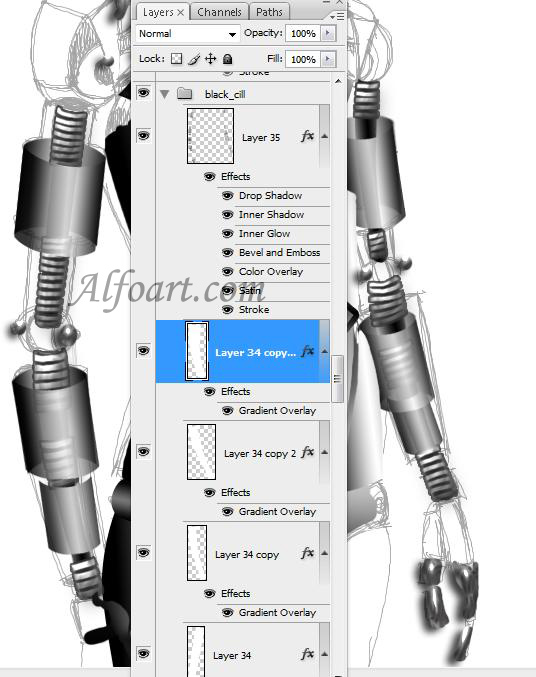
- Apply Reflected Gradient to create the following cylinders .
- Change the angle of filling gradient according to the angle of the cylinder.
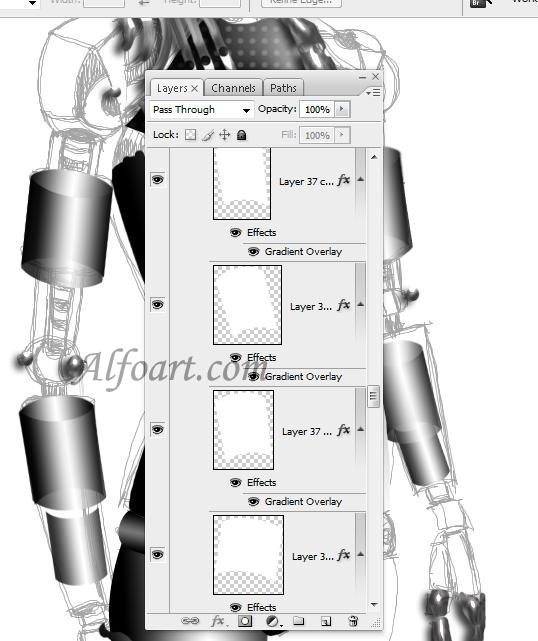
- Copy the cylinders and turn them upside down to create the undersides. Modify their form using Skew Transformation.
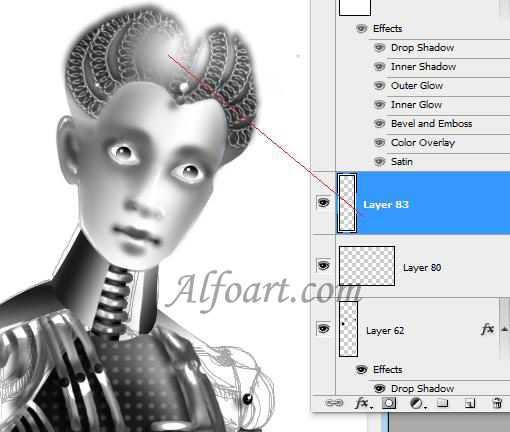
- Add various details.
- Create the face using Pen Tool and apply to it Reflected Gradient Overlay.

- Create volume using gray Airbrush soft Round 50% flow.
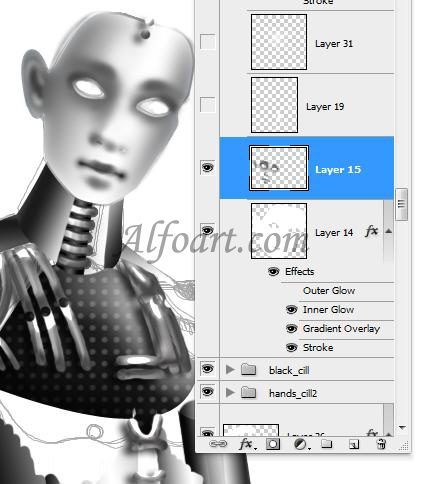
- Add light glares using small white brush.
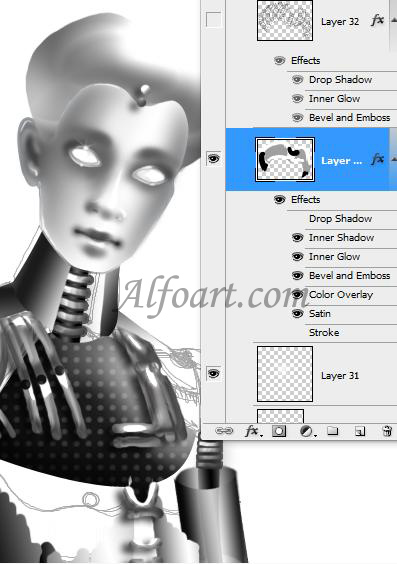
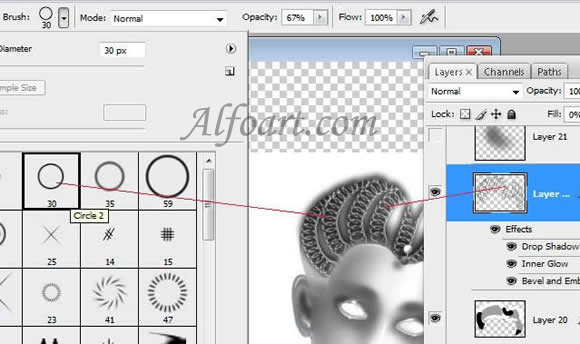
- For creation of hairdo use Circle2 brush.
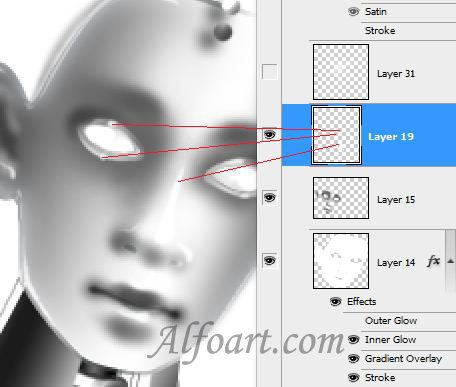
- Create eyes, apply linear gradient and Outer Glow to them.
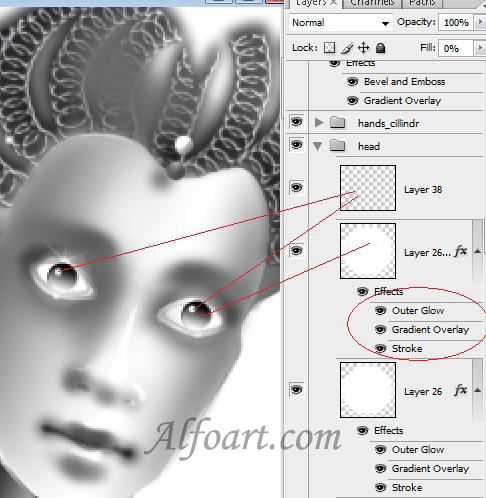
- Create a layer to draw light glares. Use soft white translucent brush.
- Create shoulders from several ovals and applly different layer style effects.
- Add shiny effect using star brushes from assorted brushes palette.
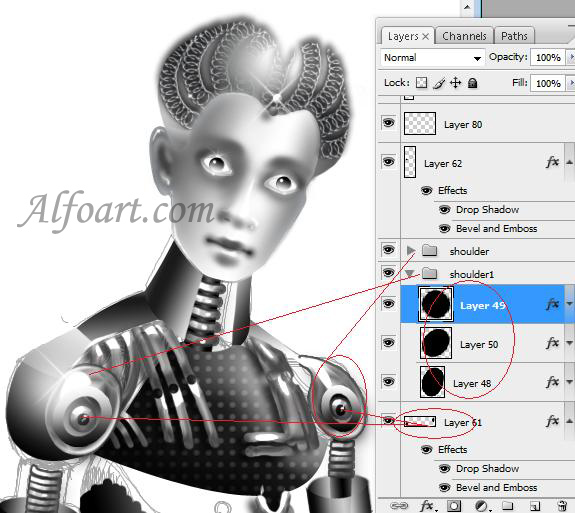
- To create volumetric forms, draw each side of object separately.
- Fill background with linear black/white gradient.
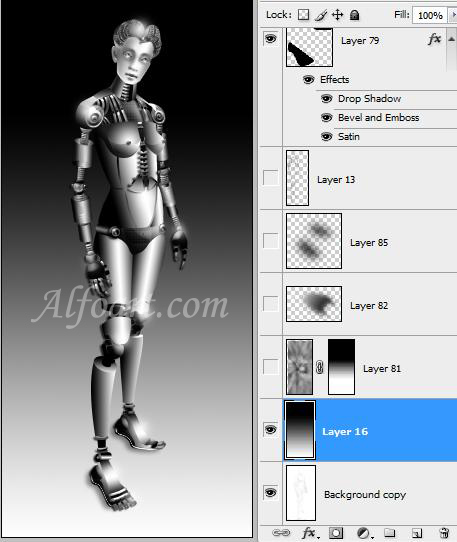
- Create a new layer.
- Click on "D" key to set default colors.
- Apply Render > Clouds filter to this layer.
- Go to Filter > Blur > Radial Blur(100; Zoom; Best).
- Choose Soft Light Blending Mode.
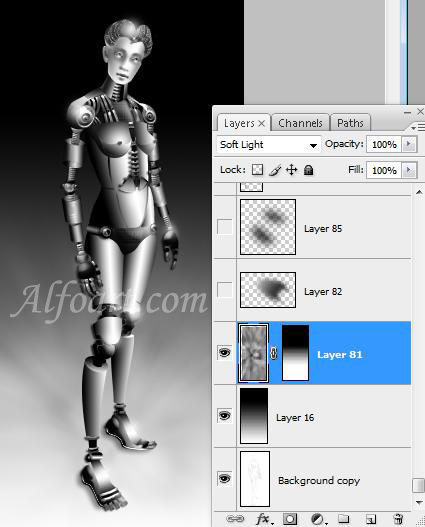
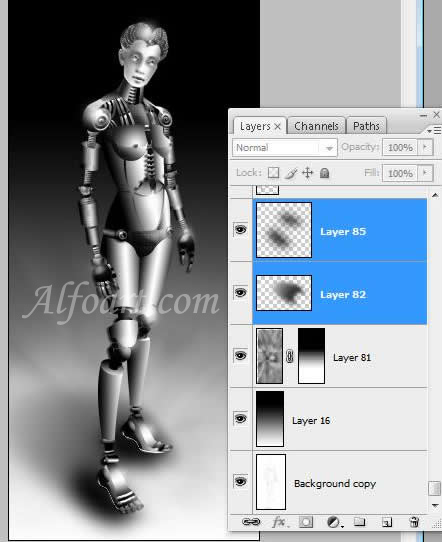
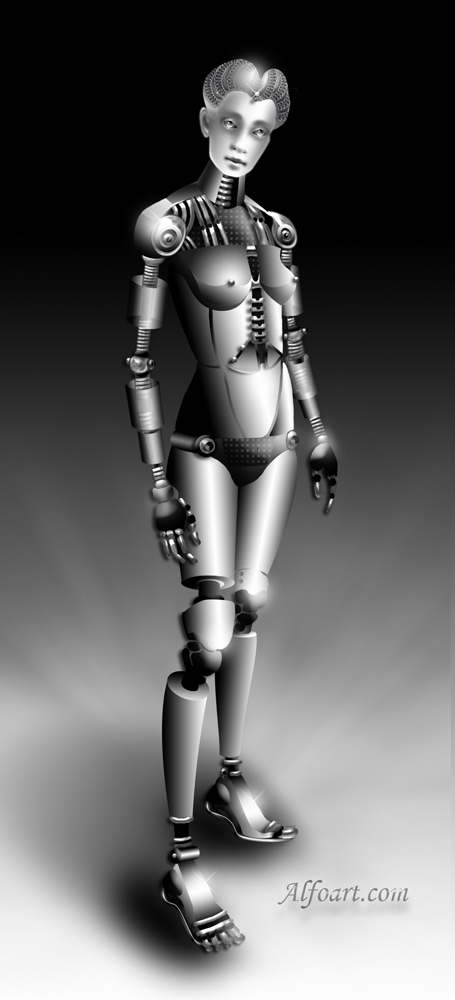
And here is the result! Click for larger view!

No comments:
Post a Comment